Flask教程(七)文件上传

软硬件环境

  • Windows 10 64bit
  • Anaconda3 with python 3.7
  • PyCharm 2019.3
  • Flask 1.1.1

简介

文件上传是个经常碰到的问题。其中涉及很多的内容比如文件的上传、文件类型的过滤,文件大小的限制,文件重命名,文件目录管理等等。下面我们来看看最基本的上传功能的实现,至于提到的其它问题,大家可以自己摸索摸索。

Flask处理文件上传

Flask中进行文件上传,需要在通过html中的form表单,而且需要设置enctype=multipart/form-data,看下面的实例

index.html文件内容

<!DOCTYPE html>
<html lang="en">
<head>
<meta charset="UTF-8">
<title>upload</title>
</head>
<body>
<form action = "/success" method = "post" enctype="multipart/form-data">
<input type="file" name="file">
<input type = "submit" value="Upload">
</form>
</body>
</html>

主要就是一个form表单,使用的http方法是POST并且设置enctype="multipart/form-data"input标签的类型是file,接下来还需要编写一个html,用来显示上传成功后的信息

success.html文件内容

<!DOCTYPE html>
<html lang="en">
<head>
<meta charset="UTF-8">
<title>Success</title>
</head>
<body>
<p>File uploaded successfully!</p>
<p>File Name: <b> {{name}} </b></p>
</body>
</html>

最后来看看Flask端的处理代码,run.py文件内容

1
2
3
4
5
6
7
8
9
10
11
12
13
14
15
16
17
from flask import Flask, render_template, request
app = Flask(__name__)

@app.route('/')
def index():
return render_template('index.html')

@app.route('/success', methods=['POST'])
def success():
if request.method == 'POST':
f = request.files['file']
f.save(f.filename)
return render_template('success.html', name=f.filename)


if __name__ == '__main__':
app.run(host="127.0.0.1",port=5000,debug=True)

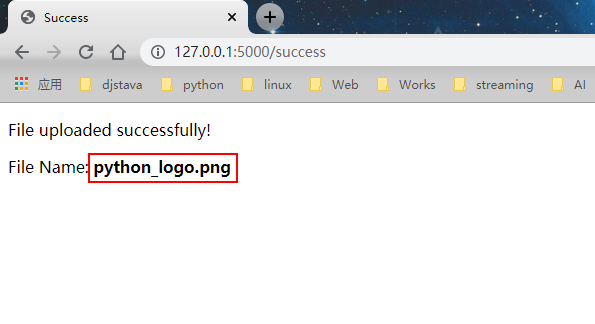
注意到success方法中,只处理POST请求,并从请求对象中的files获取到文件的内容,调用save保存文件,渲染网页时,将文件名传递过去,文件名会在success.html中显示

启动Flask服务,访问http://127.0.0.1:5000
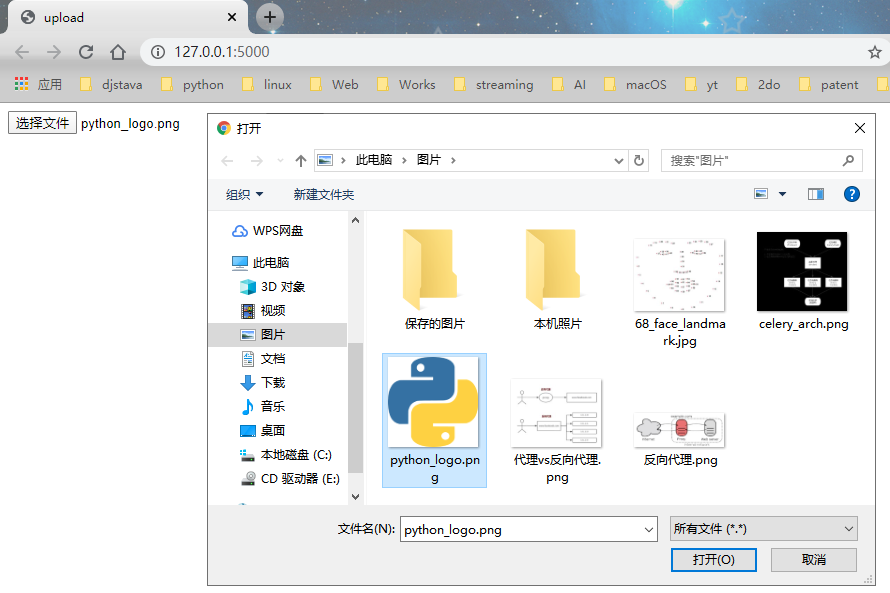
flask

点击选择文件,在弹出框中选择需要上传的文件,然后点击Upload

flask

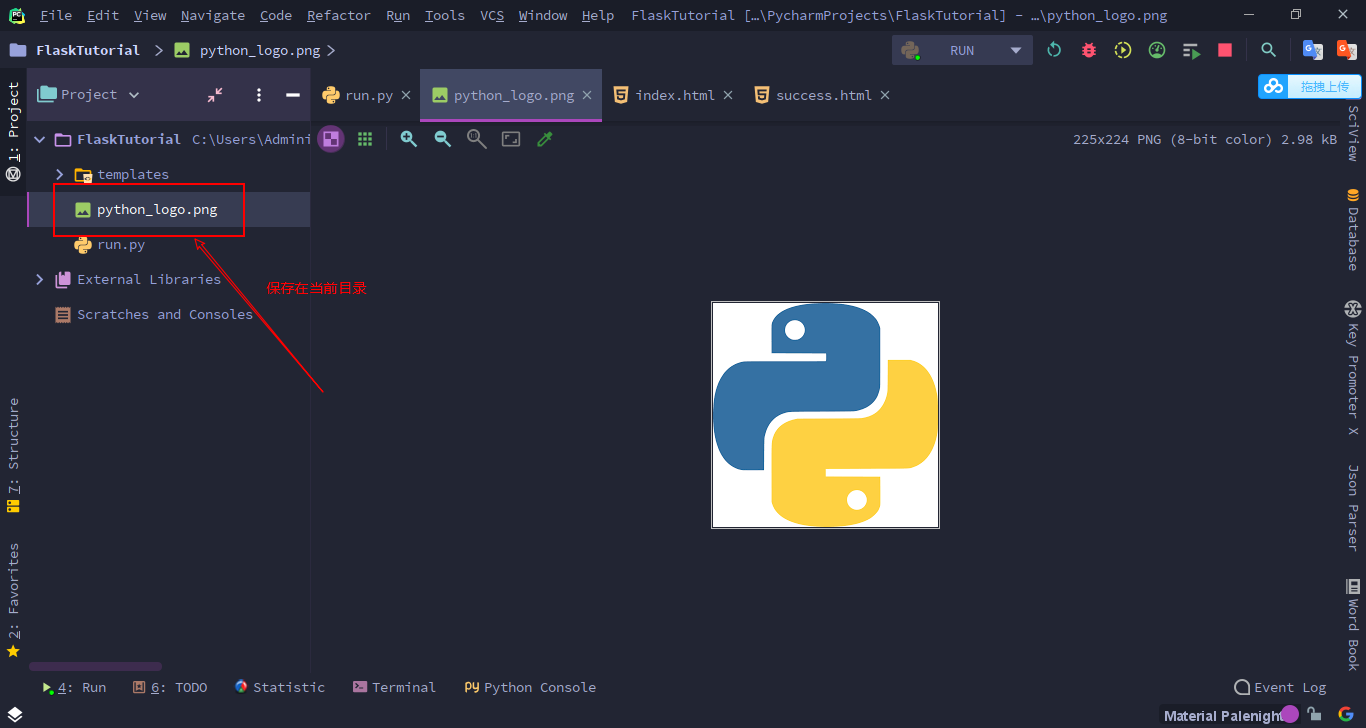
来到pycharm可以看到刚刚接收到的文件python_logo.png

flask