软硬件环境
- Windows 10 64bit
- Anaconda3 with python 3.7
- PyCharm 2019.3
- Flask 1.1.1
简介
在web应用中,经常需要对用户的操作实施反馈,好让用户知道到底发生了什么事。最常见的方式自然是在网页上显示一些字符,可以是确认消息、警告或者错误提醒。
Flask实现
在Flask中,使用flash message(闪现消息),具体使用的方法是flash()
flash(message, category)
其中
* message: 具体的消息内容
* category: 可选参数,表示消息类型,比如错误、警告等
在视图函数中发送了消息,自然的,就需要在模板文件中取出消息,我们使用方法get_flashed_message
get_flashed_messages(with_categories, category_filter)
其中2个参数都是可选参数
- with_categories: 消息类型,与上面的
flash匹配
- category_filter: 过滤条件
下面看个完整的实例
run.py文件内容
1
2
3
4
5
6
7
8
9
10
11
12
13
14
15
16
17
18
19
20
21
| from flask import Flask, render_template, request, redirect, url_for, flash
app = Flask(__name__)
app.secret_key = "xxx"
@app.route('/')
def index():
return render_template('index.html')
@app.route('/login', methods=['GET', 'POST'])
def login():
error = None
if request.method == "POST":
if request.form['email'] != 'test@gmail.com' or request.form['password'] != 'test':
error = "Invalid account."
else:
flash("Login successfully")
return redirect(url_for('index'))
return render_template('login.html', error=error)
if __name__ == '__main__':
app.run(host="127.0.0.1",port=5000,debug=True)
|
当邮箱和密码输入正确的时候,调用flash方法
模板文件index.html
1
2
3
4
5
6
7
8
9
10
11
12
13
14
15
16
17
18
19
| <!DOCTYPE html>
<html lang="en">
<head>
<meta charset="UTF-8">
<title>Index</title>
</head>
<body>
{% with messages = get_flashed_messages() %}
{% if messages %}
{% for message in messages %}
<p>{{ message }}</p>
{% endfor %}
{% endif %}
{% endwith %}
<h3>Welcome!</h3>
<a href = "{{ url_for('login') }}">login</a>
</body>
</html>
|
通过调用get_flashed_messages方法获取到所有的消息,然后使用for-in的循环显示出每一条消息。页面的底部,我们放置一个超链接,用于跳转到login页面
login.html文件内容
1
2
3
4
5
6
7
8
9
10
11
12
13
14
15
16
17
18
19
20
21
22
23
24
25
26
27
28
| <!DOCTYPE html>
<html lang="en">
<head>
<meta charset="UTF-8">
<title>Login</title>
</head>
<body>
<form method = "post" action = "http://localhost:5000/login">
<table>
<tr>
<td>Email</td>
<td><input type = 'email' name = 'email'></td>
</tr>
<tr>
<td>Password</td>
<td><input type = 'password' name = 'password'></td>
</tr>
<tr>
<td><input type = "submit" value = "Submit"></td>
</tr>
</table>
</form>
{% if error %}
<p><strong>Error</strong>: {{ error }}</p>
{% endif %}
</body>
</html>
|
这是前面我们介绍过的简单登录界面,最下面用于显示出错信息
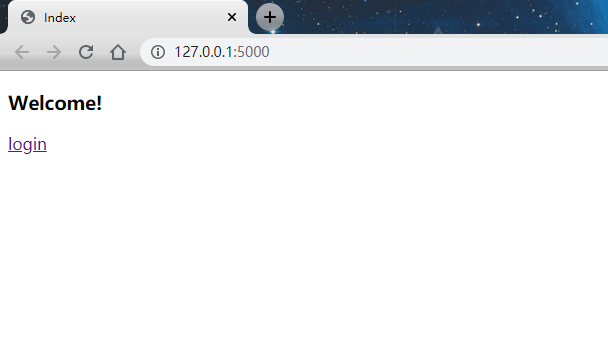
最后启动下Flask服务,访问http://127.0.0.1:5000

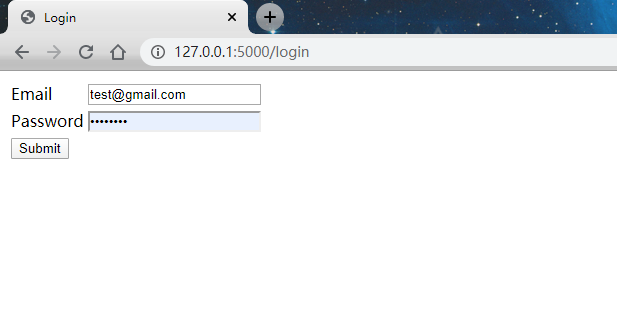
输入email和password

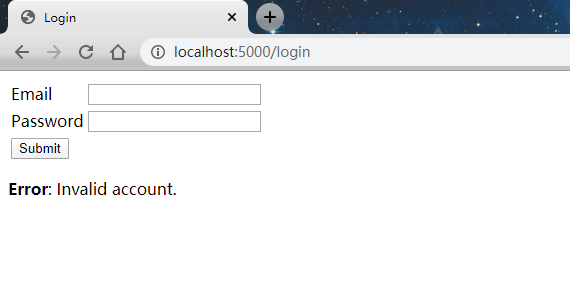
出错,显示无效账户信息

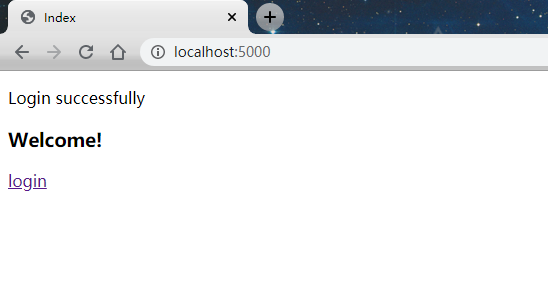
成功,显示欢迎信息


